Project omschrijving
VST – Radar Master Robot 3D Printed Self Balancing Robot
3D Printed Radar Master Robot with self balancing action, bluetooth, wifi, programming and smart device control….. check it out… the story is here below, an insane project again… here we go 🙂
When i met Claus from Germany in Brussels at the collect hit in 2013 i could never have imagined that the Boat and the parts I bought from him would have ended up in this creation. I dont even know where to start the story but i will give it a try….
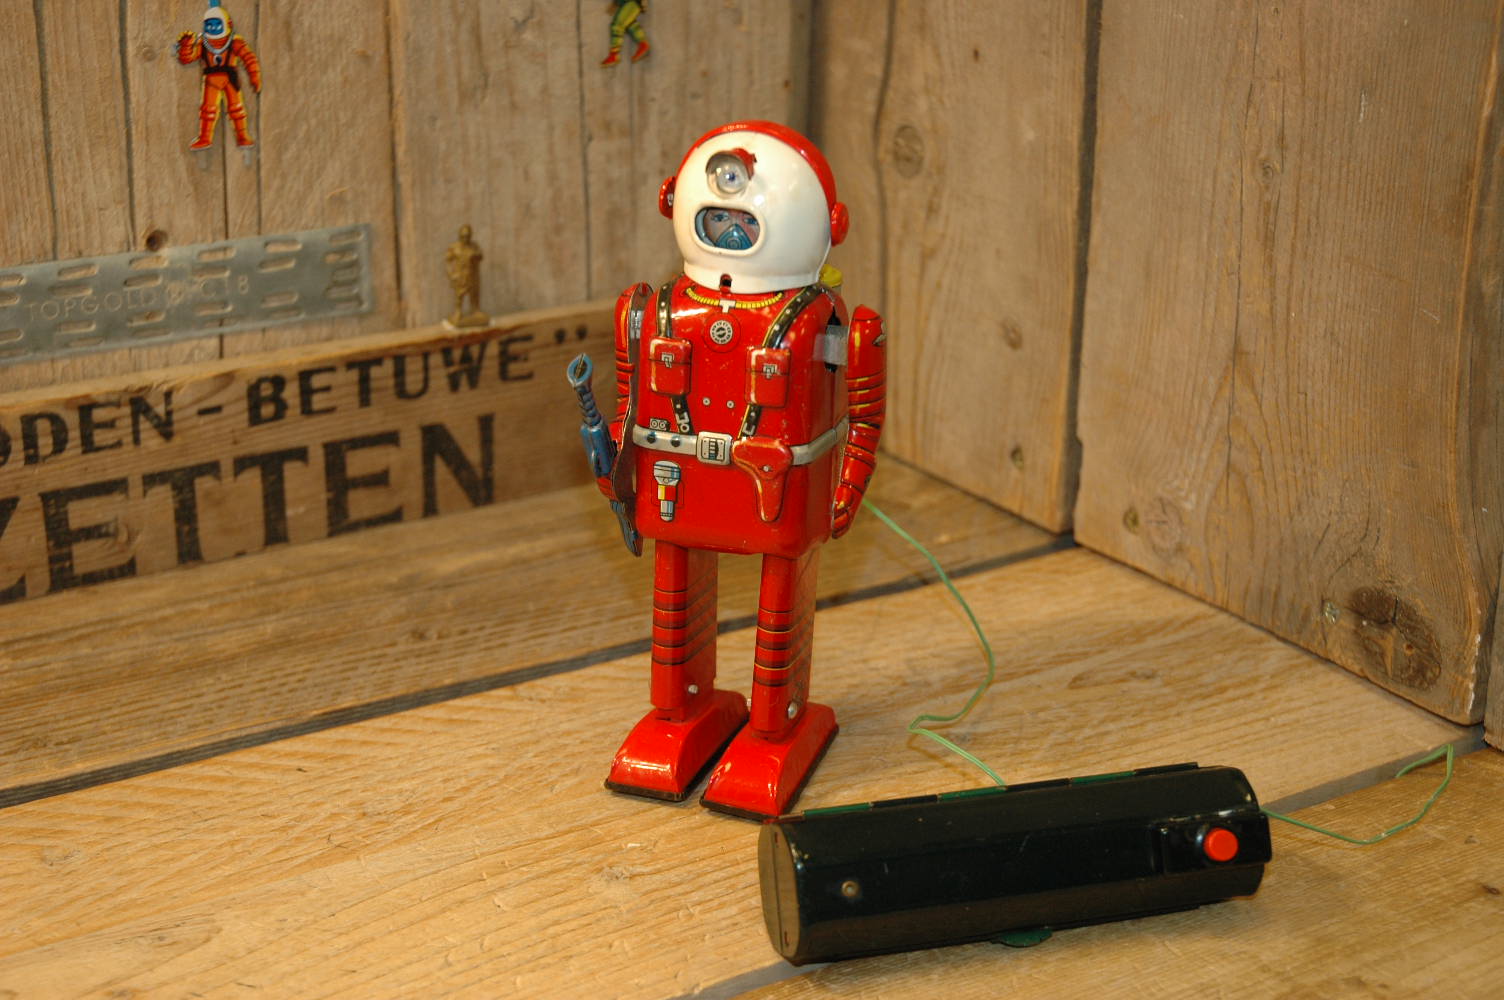
Claus had a boat for sale that was made in Germany by Arnold and is called Radar Master Boat.The boat is rather scarce and is hard to find these days. It was made in Germany in the late fifties and was one of the first remote controlled boats using tubes inside the transmitter and receiver.In the stock picture you will see the boat along with its receiver and remote. Claus had a table with toys and robots and that boat for sale. It was not the boat that took my attention but it was the remote control and the receiver… what i saw lying at the table was a robots body and a robots head… :-)I bought the parts from Claus and when i came back to my workshop i started to think about how to make this into a real robot.
After some days of drawing and thinking things over i decided to go with the “electroman” legs… wheels, legs and arms.i had them lasercut out of aluminium and installed a mechanism of an nomura tractor to get the robot going.
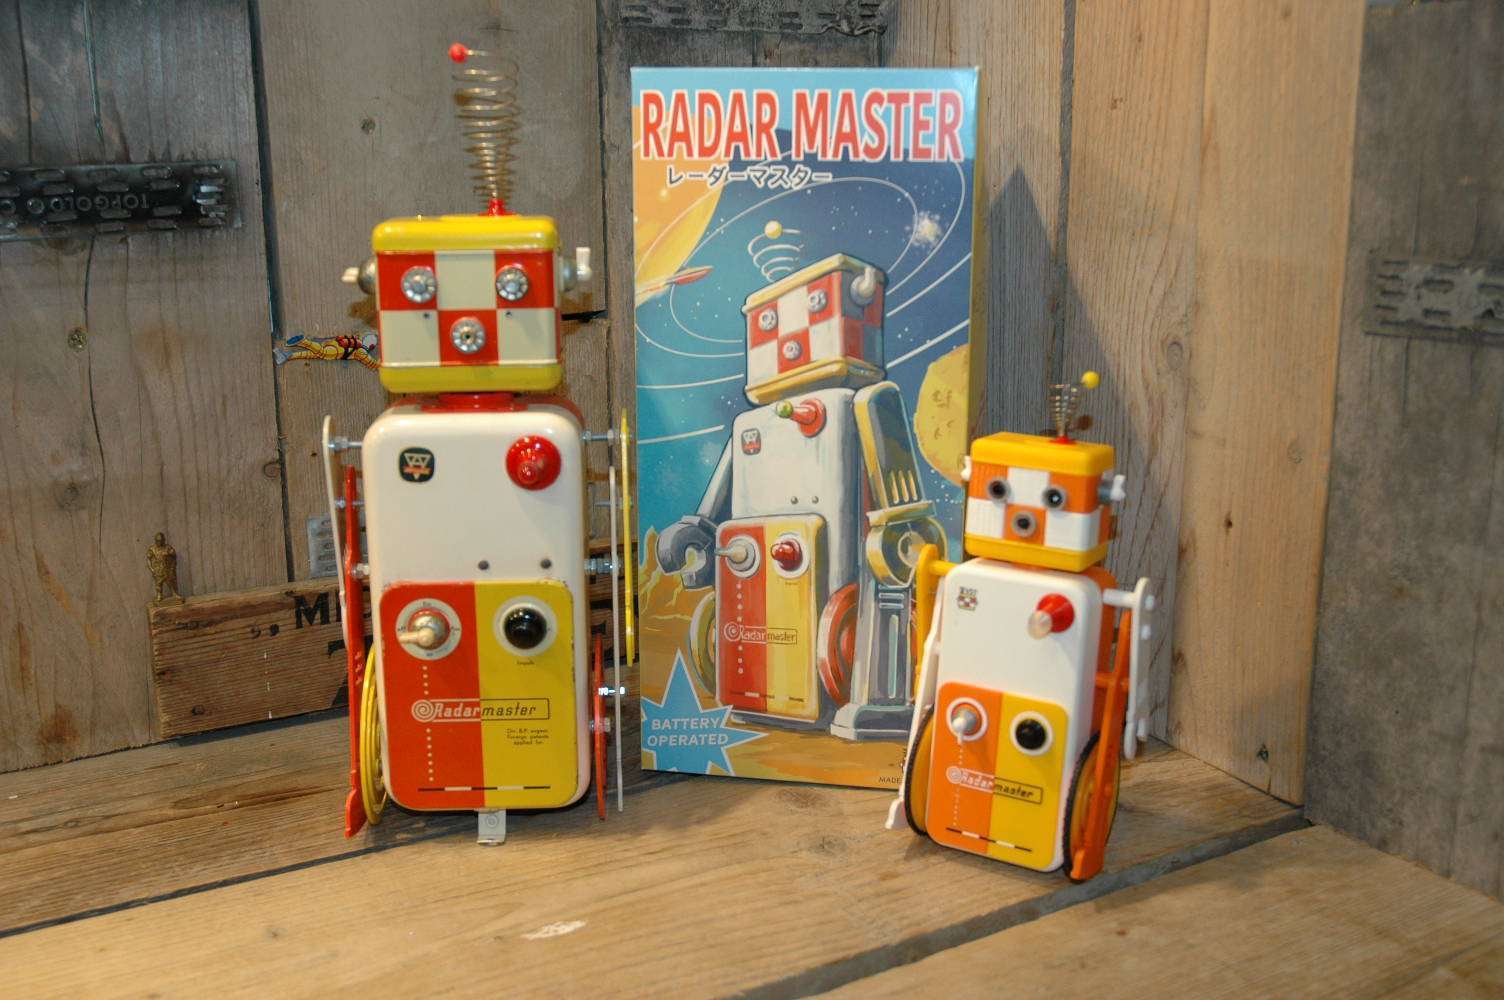
The original Radar Master Robot is made out of lithographed tin and battery operated. The robot has a light installed ( where the antenna had used to go ) and the on / off switch was used to switch on the internal mechanism to get the robot going with moving wheels, legs and arms.I remember that John was not to happy with the fact that i ripped out the internals of these rare and scarce parts but John… i think it was not for nothing :-)Later I found a second boat in Germany and I was able to build up a second Radar Master.
The first one ended up at my shelves and is still in my collection. The second one found a good home in Waterloo with Xris.I had several requests for this robot but it was impossible to find the parts for it again until.. a couple of weeks ago a friend of mine contacted me and told me there was a mint boat for sale on ebay germany… Of course i bought the boat and was able to build up the third ( and final ) Radar Master..When the parts arrived and i unpacked the boat, remote control and the receiver i had an idea again having the parts in hands… what if… i could draw the parts on the computer and make a 3D printed version of Radar Master Robot….
I ran into several problems because our printers are only able to print in ONE colour so I had to think how to do this. Here in the building where my workshop is located there is a very good cad designer. I talked with him about this project and he was willing to help me out and help me to draw the complex parts so that the robot could be printed in several colours, so that it could all fit together.In short, the robot contains over 85 individual printed parts that all had to fit together to the tenth of a mm.
The head for example are blocks that are printed separate and can be clicked together to make it a complete head.My first idea was to make the 3D printed Radar Master the same size as the original but the printing times would have been way to long and the biggest part, the back of the body would have been over 28 hours of printing time.I had already an idea about the mechanism to build inside this 3D printed Radar Master Robot but that was planned for the full version. as the printing time would have been way to long on high resolution i had to think of something else.I browsed the internet for a couple of days to get some ideas.
This time I wanted to use modern technology instead of old mechanisms like the robots from the sixties.I read an interesting article of balancing robots and bingo… i had exactly what i needed for my 3D printed Radar Master Robot….I scaled all the parts back to 69.38 % ( yes it had to be that exact.
I would go with the mechanism of a mip robot. After i ordered 2 of these robots i had some serious problems to take them apart. later it turned out that there are 2 hidden screws in the wheels that you really need to unscrew to take the mip apart.The Mip`s Mechanism has several cool functions. not only the robot is self balancing but also it has build in wifi and bluetooth, it reacts on geastures and sounds and can be programmed as well. Also it can be controlled by a mobile device and smart devices.Now i had to find a way to build all this into my 3D printed Radar Master…..
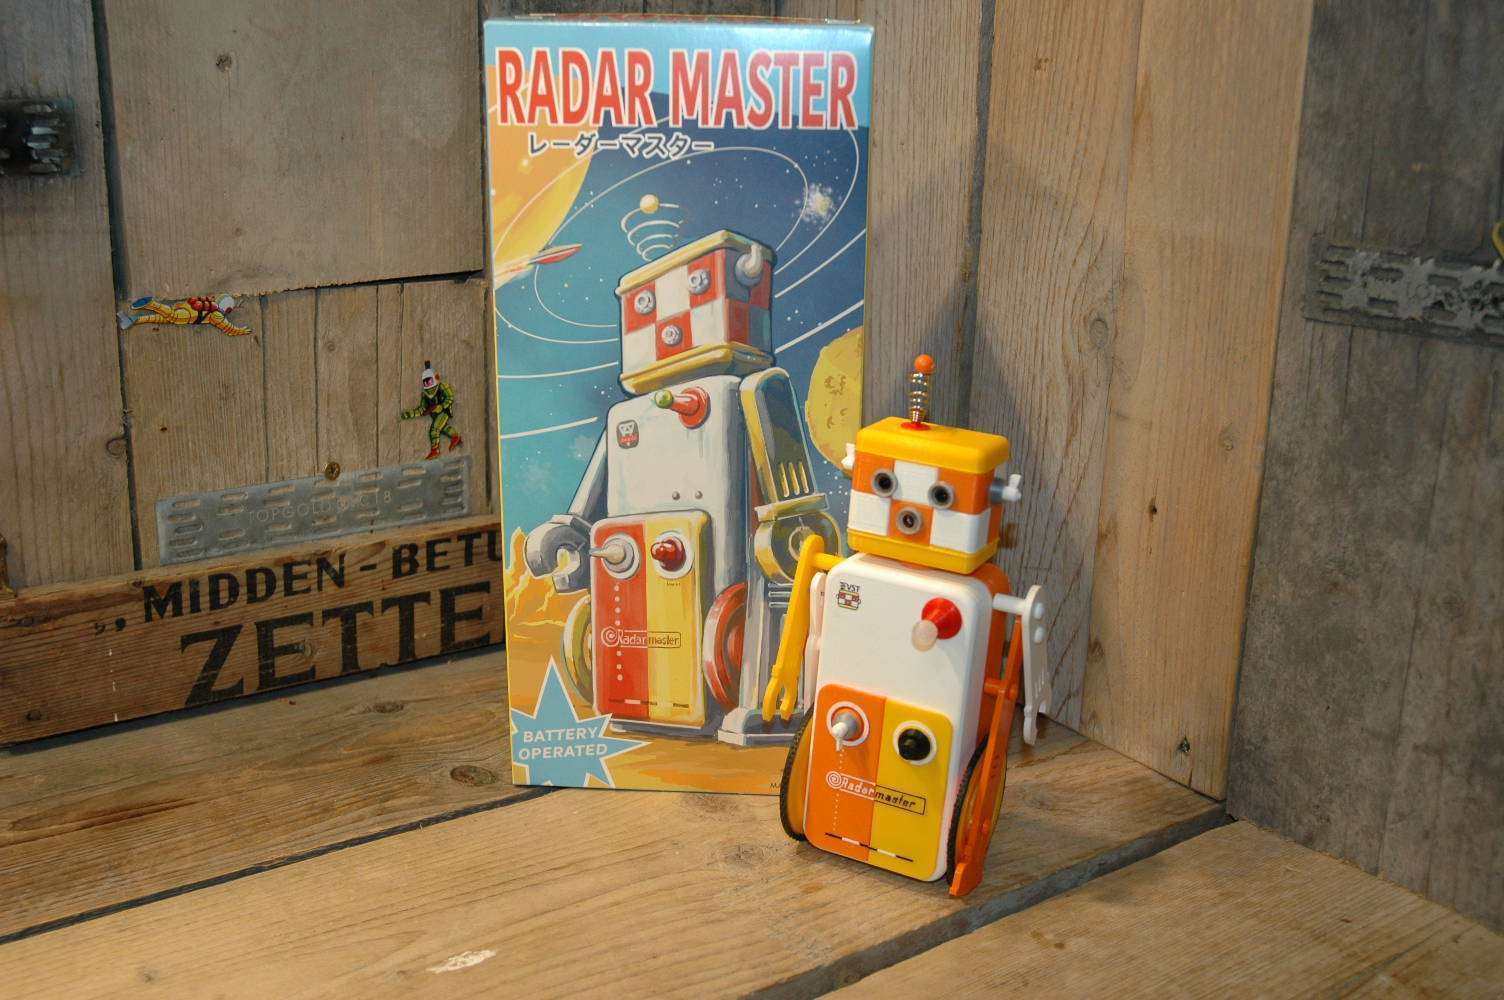
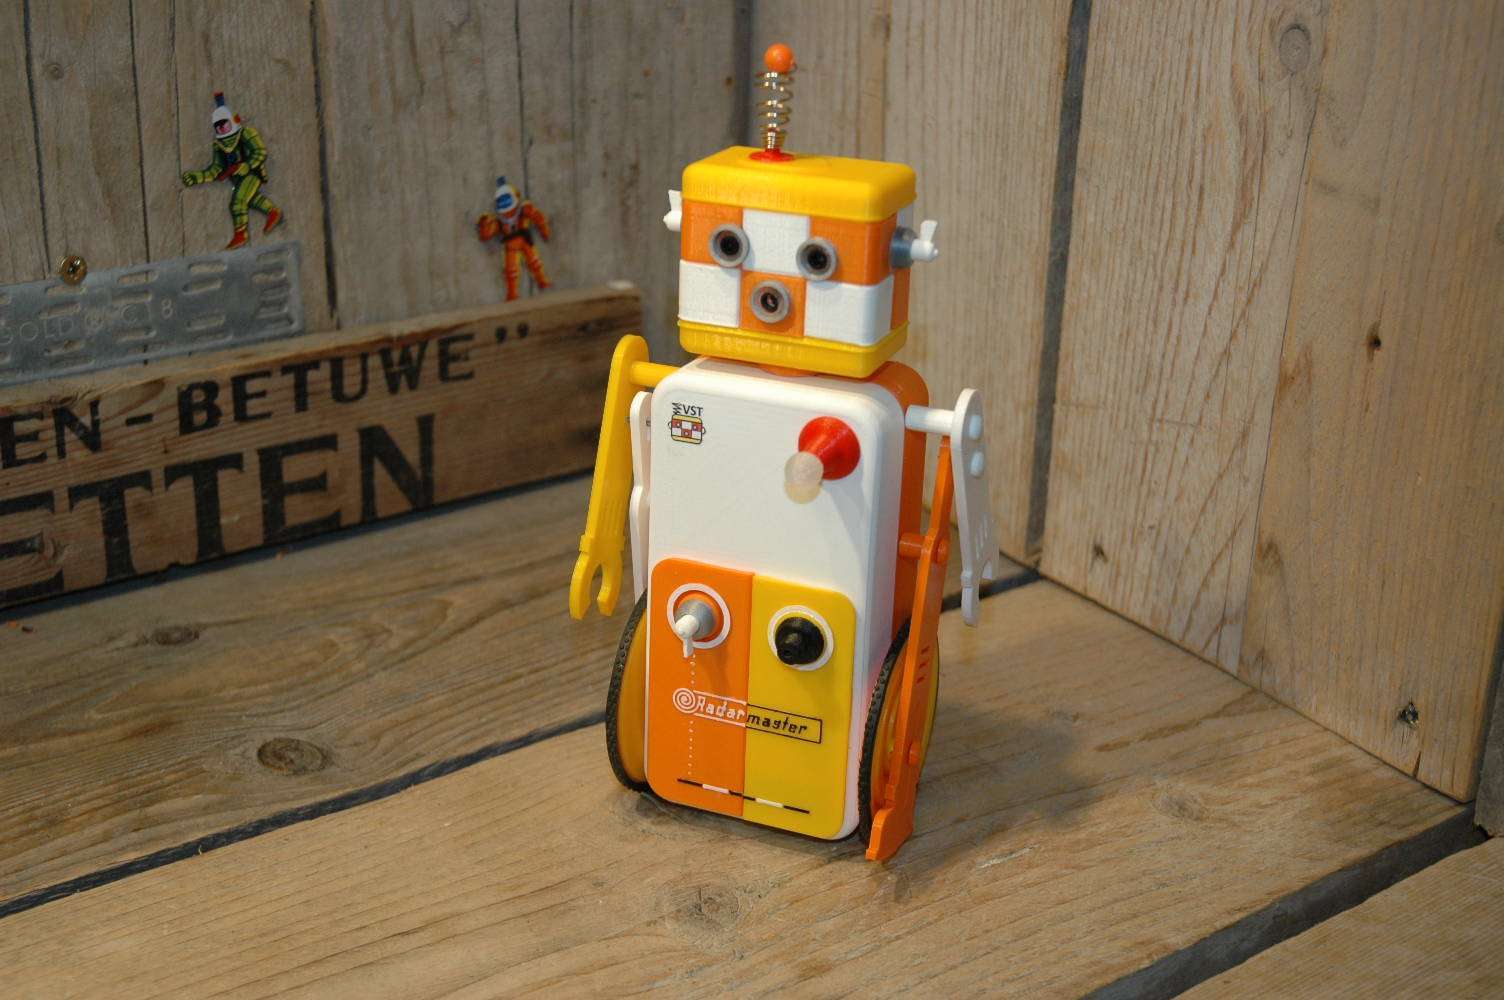
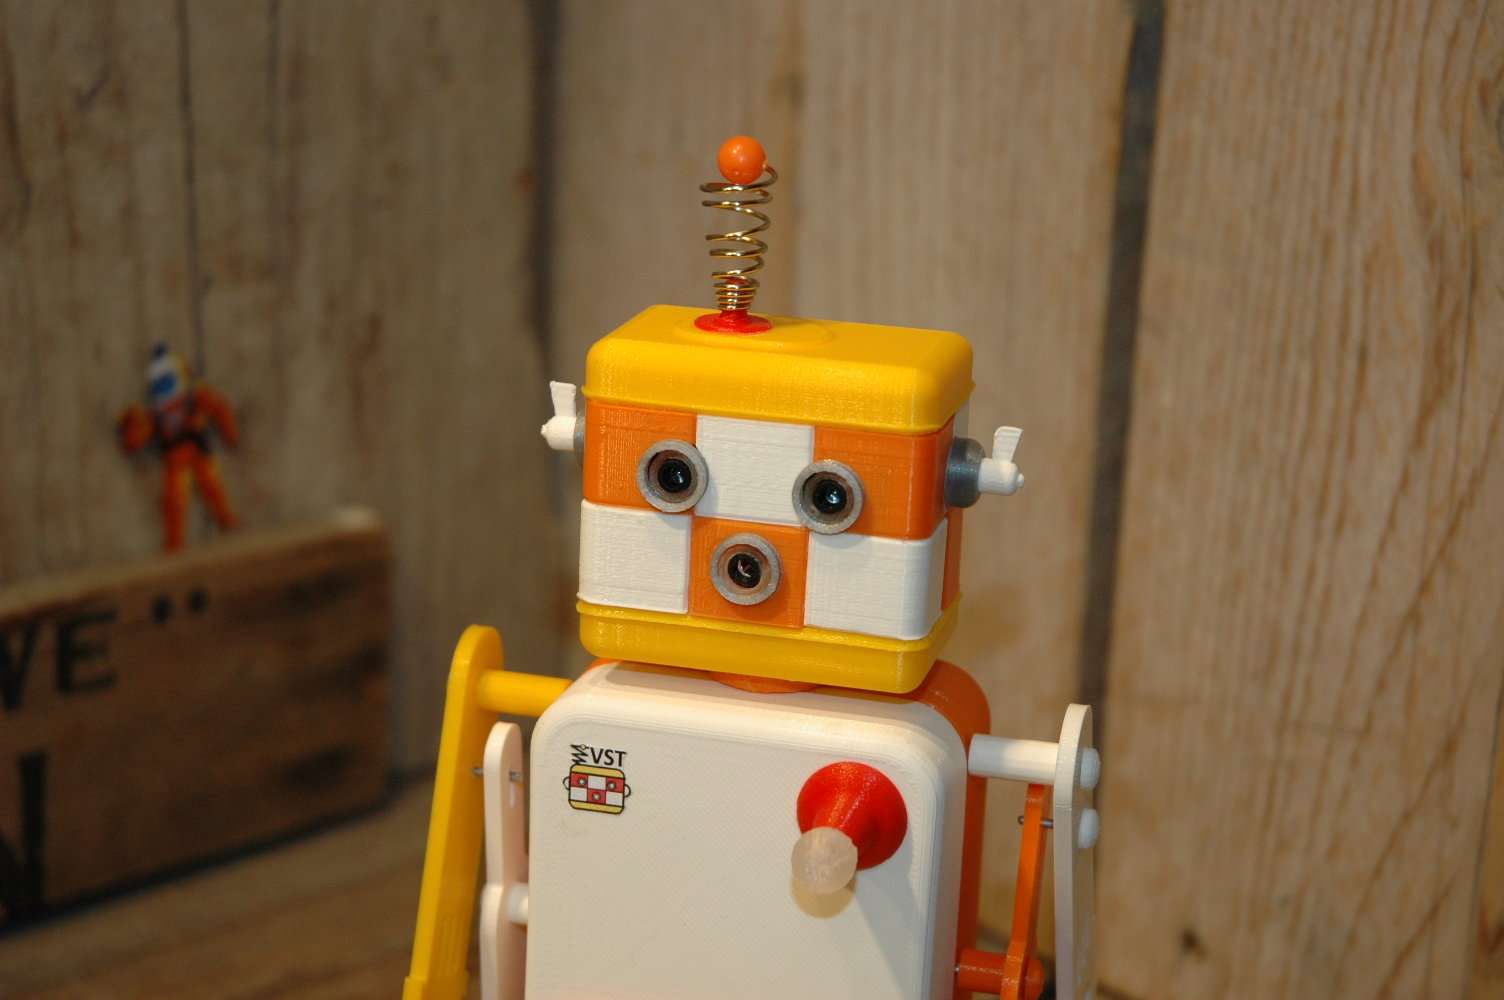
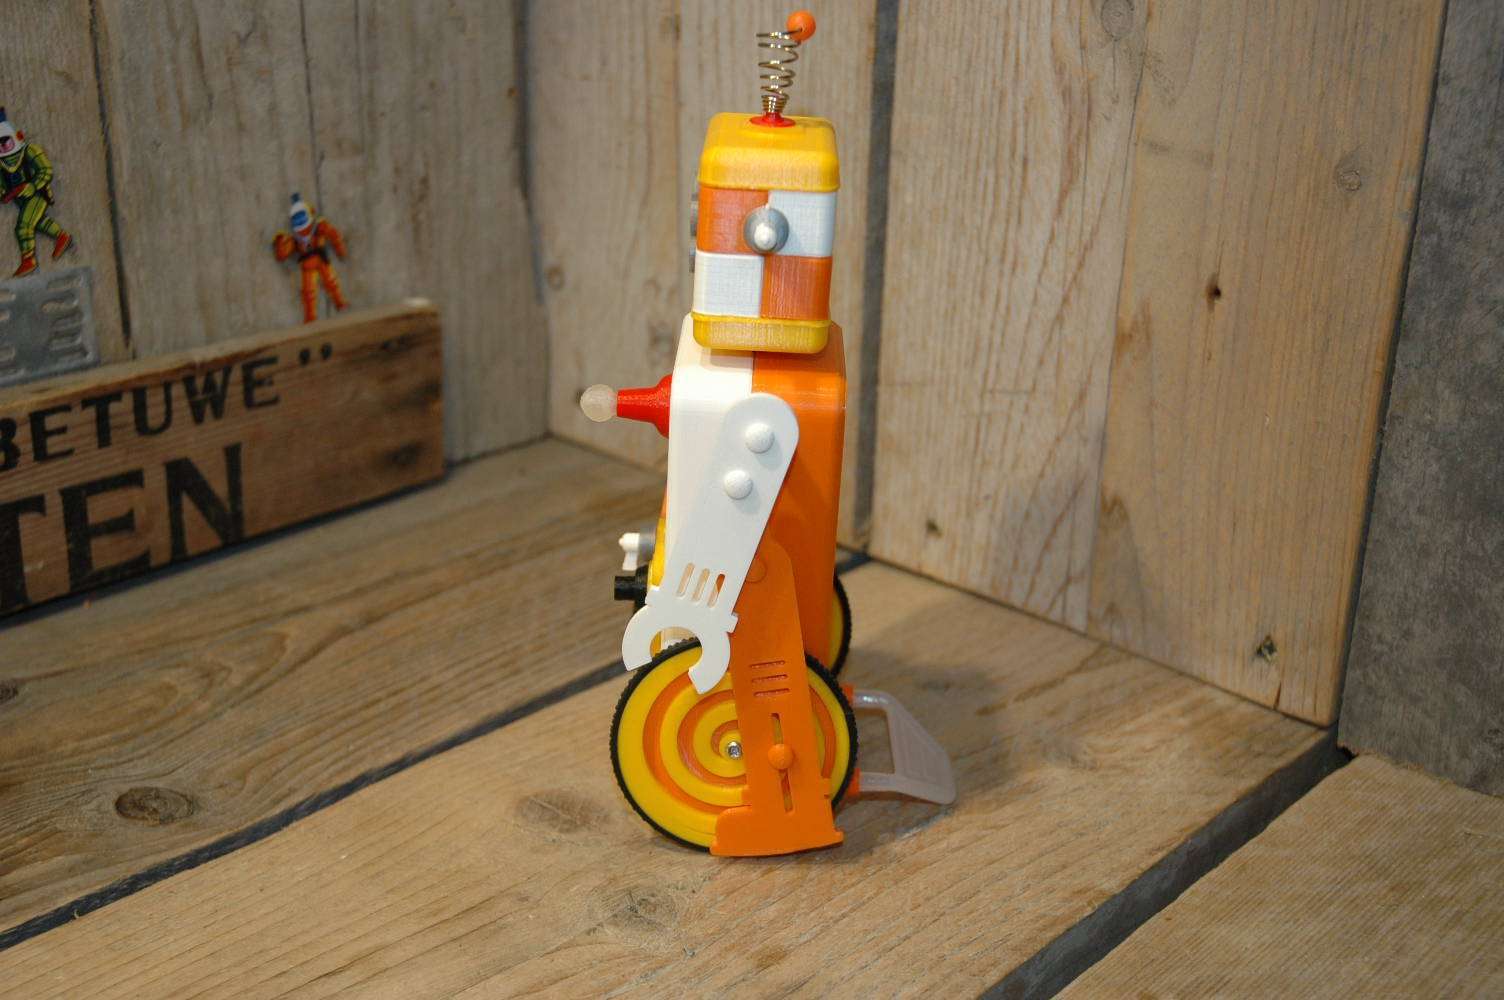
The unit in the head contains 3 sensors, 2 IR transmitters and one Infrared sensor. These are mounted on a board along with 4 miniature SMD leds to light the eyes.This complete unit is build into the Radar Masters Head. I made 2 tubes that I 3D printed in transparent Filament to get the light from the center of the head to the outside.. The light of the 4 leds shine through the transparent 3D printed tubes and the light is visible in the middle ring of Radar Masters eyes. The eyes have therefor 3 rings… outer ring in grey, middle ring ( tube ) of transparent filament and the inner black one it the tube that houses the IR Transmitter….( can you still follow me 🙂
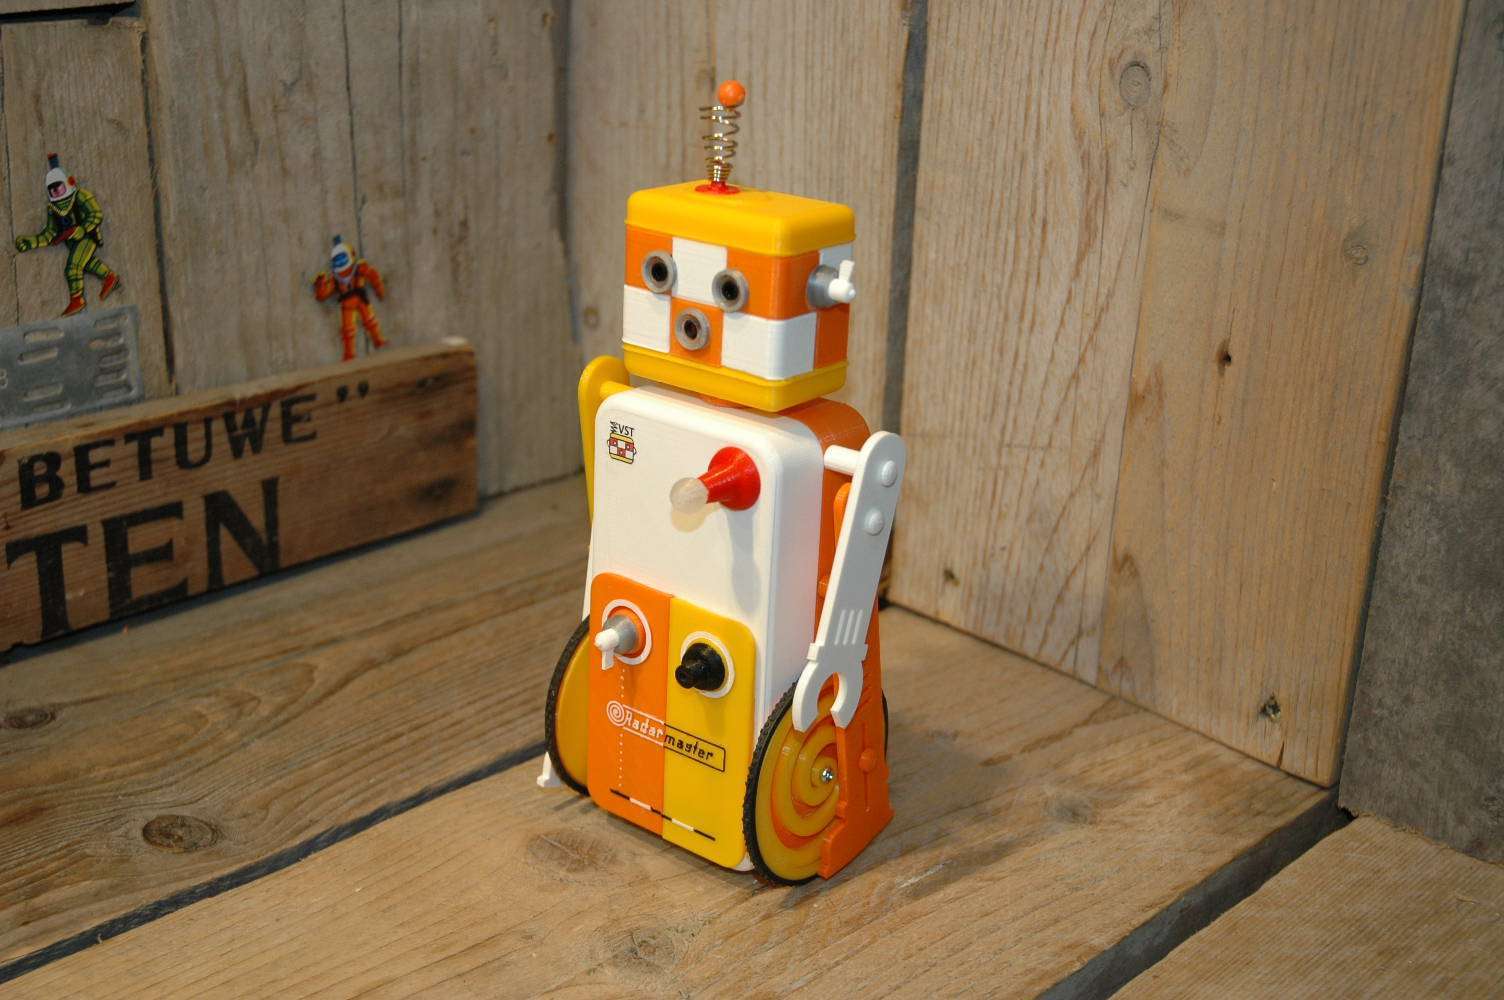
The “Nose” houses the Infrared Receiver and goes under the same 3 rings to make sure the eyes and nose look all the same, just like the original radar master.The ON / OFF switch of the mip robot is just a regular left / right ON / OFF switch but i did not want to use that at the Radar Masters Back so I made a construction so that the knob at the Radar Masters Front works as an ON / OFF switch. Turn it left / right to turn the robot on and off.Radar Master Robot can listen to your commands using a microphone. on the mip its installed in top of his head, in the 3D printed Radar Master Robot, the microphone is located inside the black knob on the right of the body.
The lettering on the yellow and orange front plates are scanned from the original robot, than imported to autocad and from there used into 123 design. the lettering lies 1 mm on top of the surface and are handpainted afterwards.The main motherboard houses all the electronics and the motors for the balancing features.It fits exactly in the back of the Radar Master. I drew a construction on which the motherboard can be screwed on so that its in the exact vertical position. I had to extent most of the wires ( i believe over 30 or so ) so that i was able to close the front and back of the robot when all is connected.The light at the front of the robot is a bulb with a tube behind it, also printed in transparent 3D filament.
This light has 7 different colours that all stand for a function of the robot ( for example: blue is standard when powered up, red is tricks, yellow is explore, orange is program and so on )This light is a 7 colour led that is also mounted on a board. its installed on the inside of the frontcover of the radar master robot and shines through the transparent tube to the outside and lights up the 3d printed transparent bulb. this looks very cool by the way and way better than on the mip.
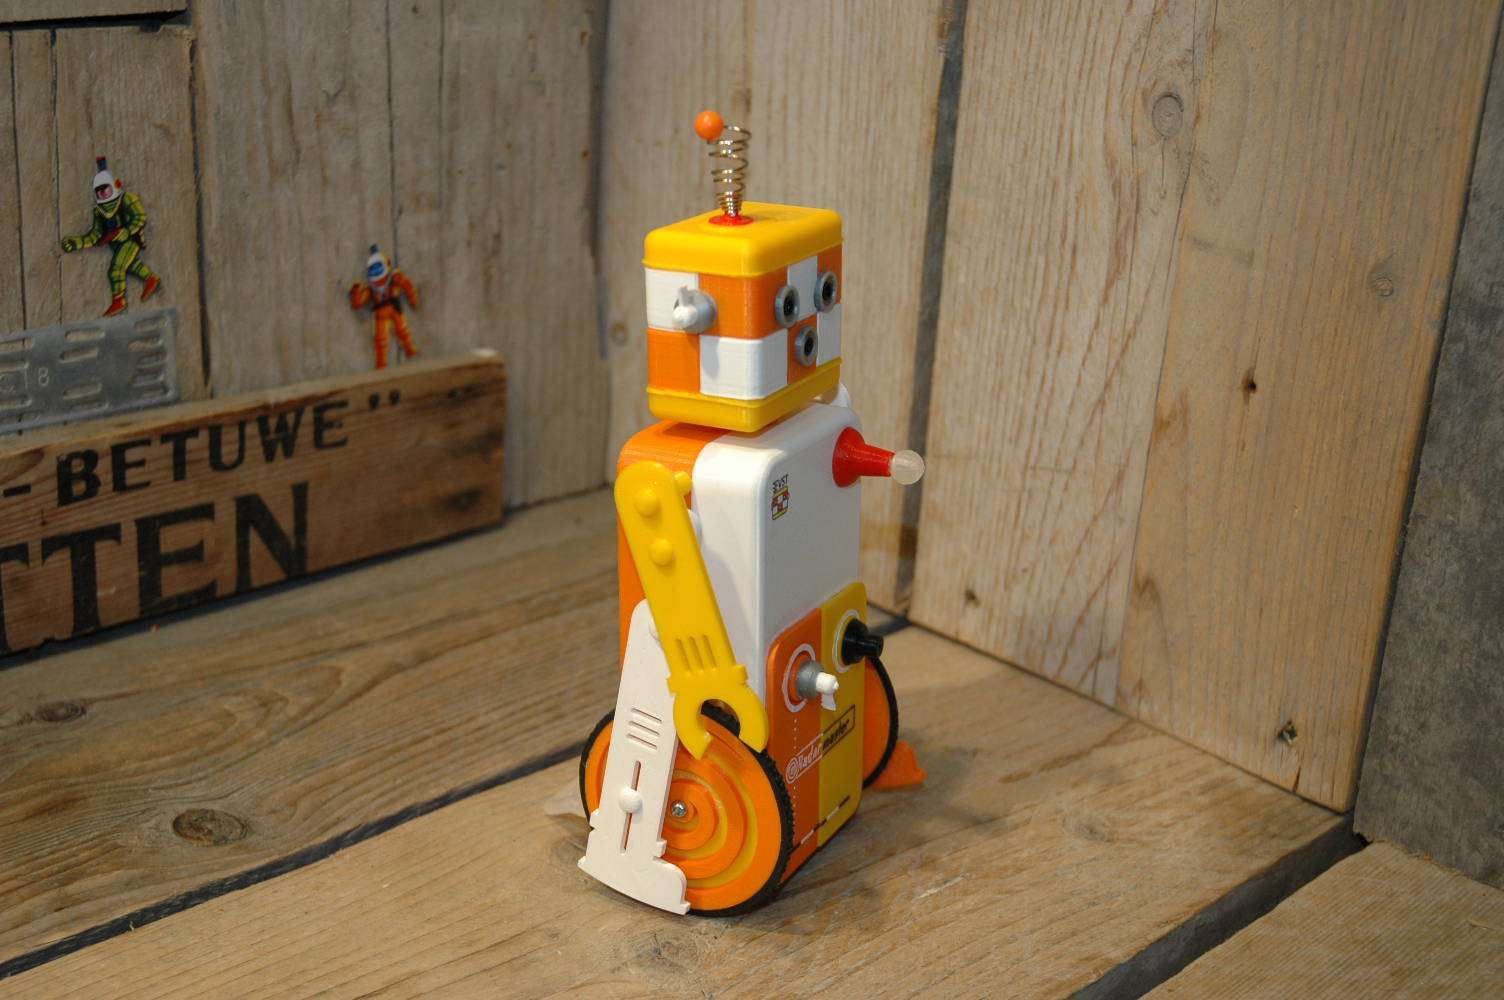
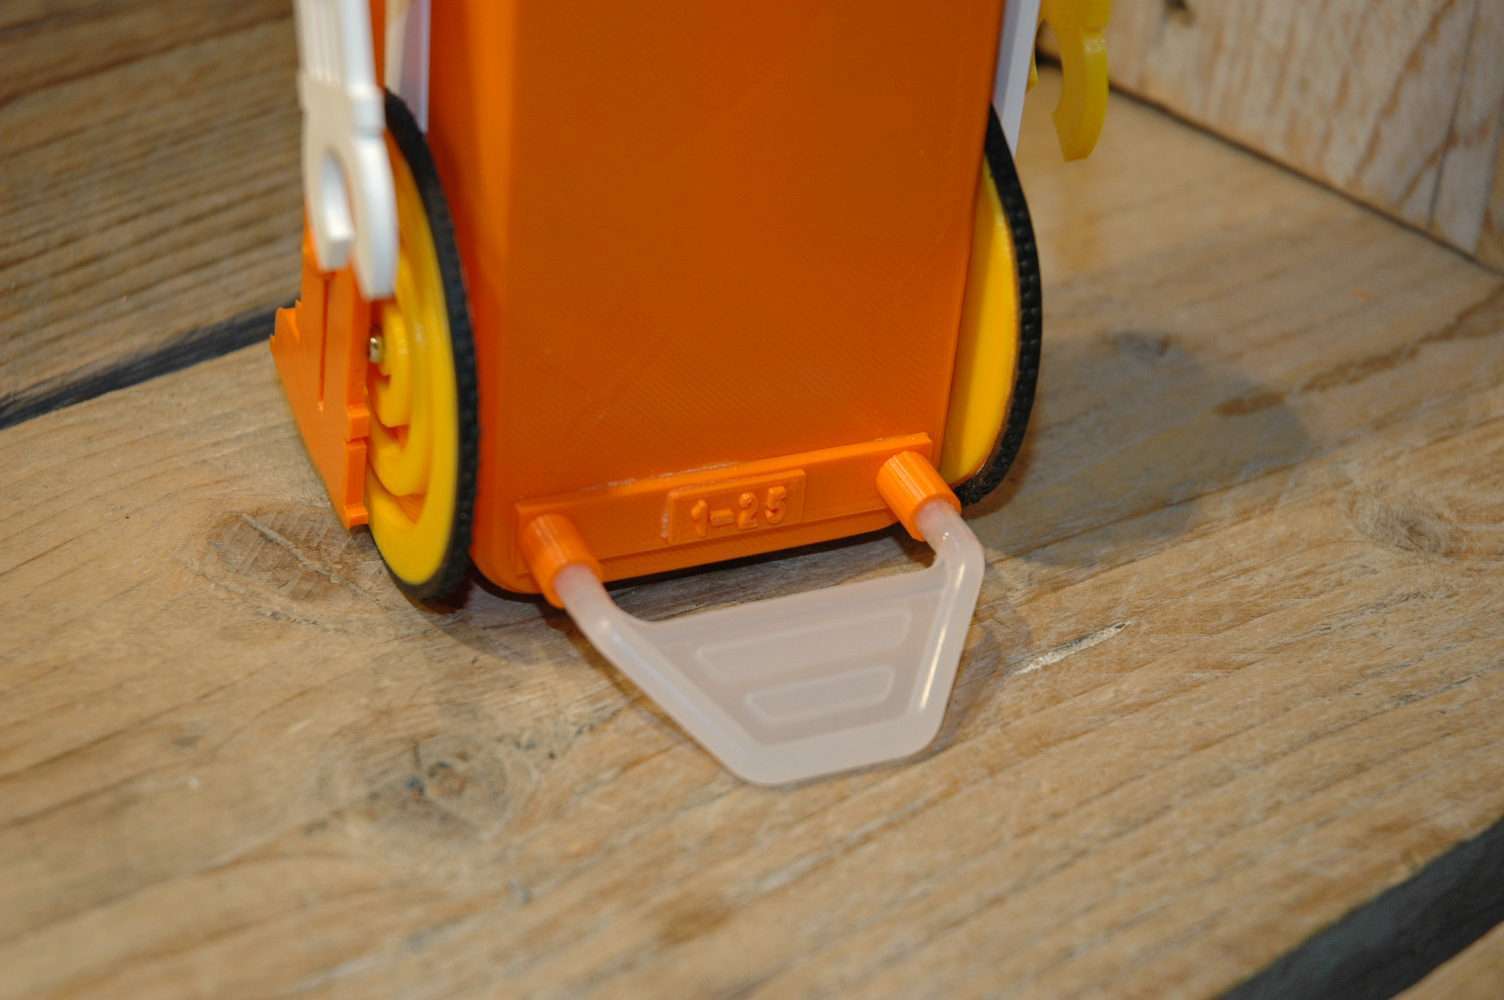
The robot is powered by 4 AAA batteries that are installed under the motherboard. They can be replaced by removing the white front of the body of the radar master. The biggest problem and the most unknown part in this project were the legs and arms.The mip robot only balances on his wheels with nothing attached. I was going to attach the legs and the arms to the wheels so that they could move as well. I could not test anything before i had the robot build up fully and everything was connected so this was a BIG questionmark till the end: Would the balancing also work with legs and arms connected to the wheels… one thing was for sure… all had to move smoothly and had to build strong.
It took me some serious time to figure out how to connect the legs and arms to the plastic body in a way that i was also able to open and close the robots front and back.I don’t believe i made so many test prints for any part as for the construction of the wheels, legs and arms.
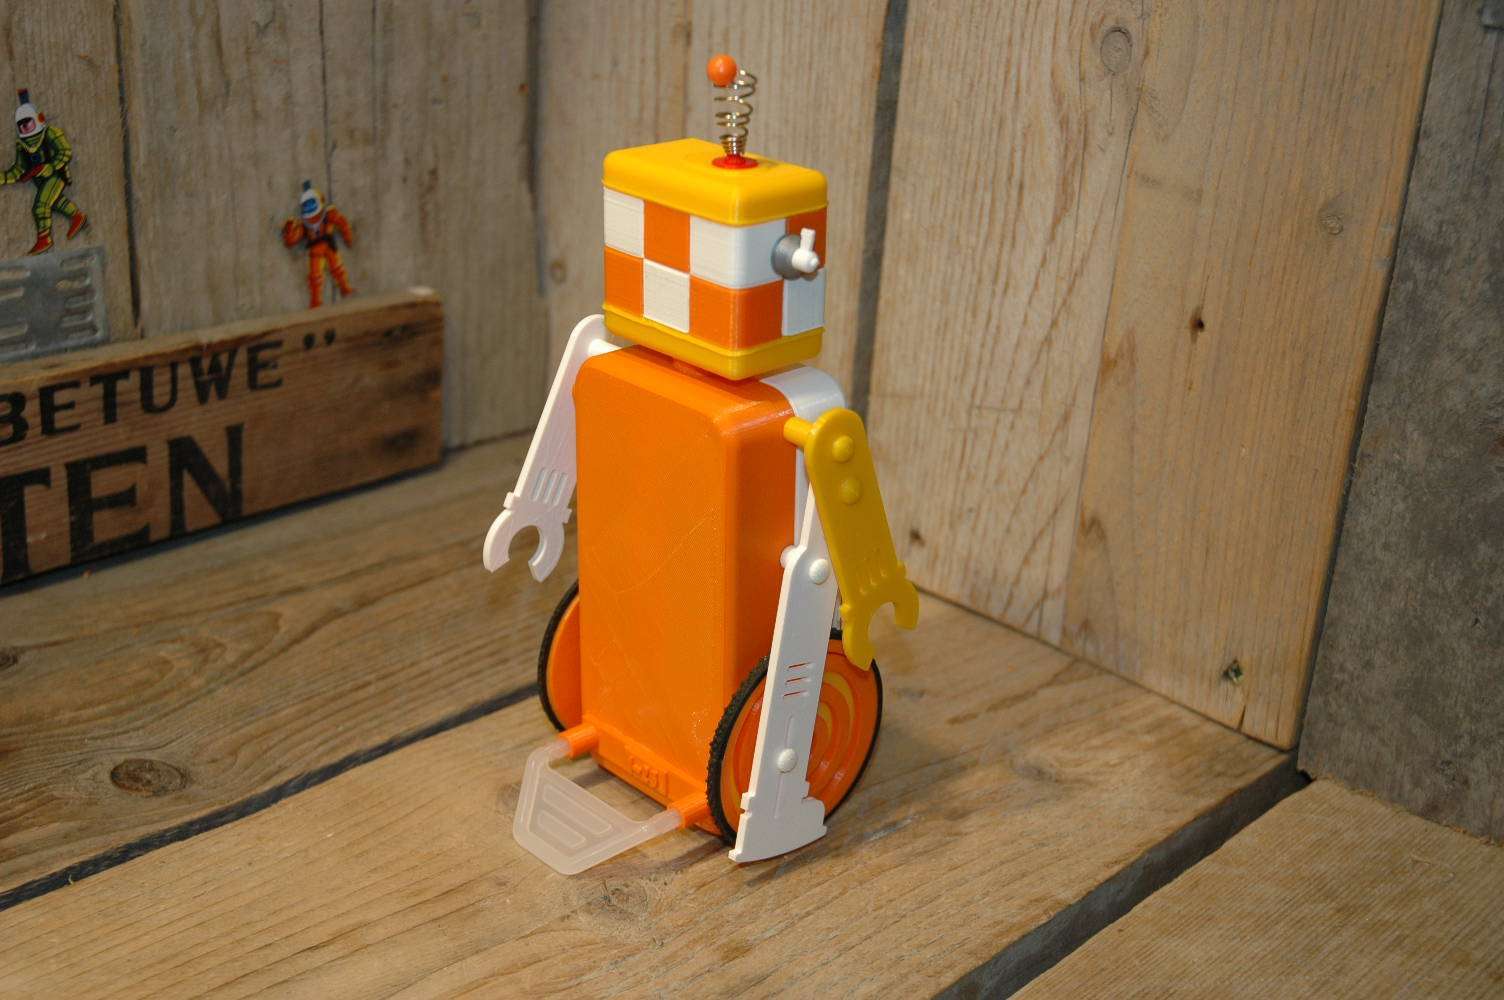
The wheels i had already digitally from the first project ( lasercut ) but they were made in aluminium. Printed in Plastic the wheels were not strong enough so I had to ad a thin plate to the inside to make the wheels strong enough. It gives also a cool effect, yellow inside with an orange wheel :-)To change the modus of the Radar Master, the wheels can be turned manually to change the modus of the robot when not used by the app. When the app is used on your smartphone, this function is disabled and the app controls the robot fully.As the mechanisms can turn the wheels very fast, so would go the legs and arms so the construction had to be precise to the mmr and strong.
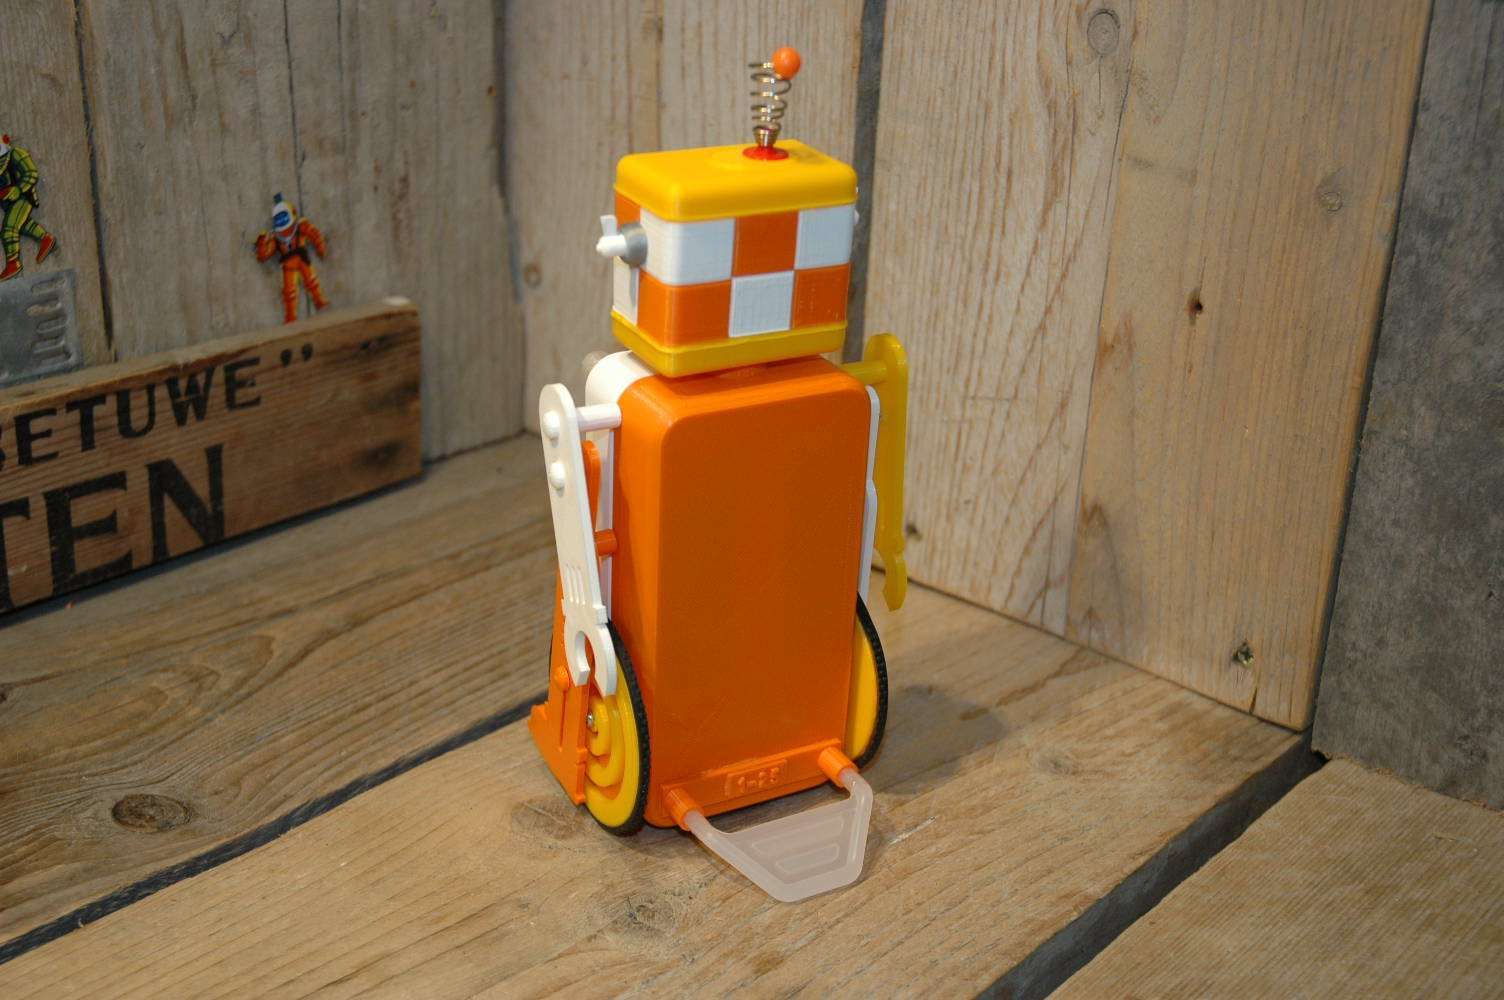
The wheels have rubber rings that comes from the mip robot. this makes sure they have good grip on the surface.The first test i made today shows that this works really perfect. The 3D printed Radar Master balances perfectly and all the functions work fine. The blue rings around the eyes and the bulb that shows the function also light up perfectly, way better than I could have dreamed of.
3D Printed Radar Master Robot is fast as well as you could see in the first video i made 🙂 CLICK HERE FOR a Short Video
VST RADAR MASTER ROBOT is a new, fully 3D Printed and Block Based Programmable Balancing Robot. You can Control its actions and reactions with simple drag-and-drop commands, using the brand new app on your BLE tablet or smartphone. Play games and drive RADAR MASTER ROBOT over objects, communicates through motion, sounds, and LED lights in his eyes and chest. His sensors allow him to navigate and explore surroundings and respond to hand gestures. Customize and program RADAR MASTERS`S reactions to different inputs such a clapping, hand gestures, and pokes. You can also make him dance or play games with him using the brand new app.
GESTURE SENSE
Gesture Sense allows RADAR MASTER ROBOT to respond to gesture-based interactions like swipes, claps, touch and more.
SMART BLUETOOTH
BLE allows RADAR MASTER to seamlessly connect to and interact with smart devices.
SOUND DETECTION
Sound detection system allows RADAR MASTER ROBOT to react to noises in its environment.
APP ENABLED
Free RADAR MASTER ROBOT app provides control and/or enhanced gameplay on your smart device.
BEACONSENSE
BeaconSense gives RADAR MASTER ROBOT situational awareness, which means that the robot can sense its surroundings and know where they are in relation to him.
GYROSCOPE/ACCELEROMETER
Accelerometers & gyroscopes measure g-force and orientation, helping your RADAR MASTER ROBOT sense when it is being picked up
BLOCK BASED PROGRAMMING
Control RADAR MASTERS`S actions and reactions with simple drag-and-drop commands with your smart device
Battery Operated, runs on 4 AAA batteries ( chargeable )
infrared sensor
IR Transmittors
Microphone
Led Eyes
Led Modus indicator
Wifi
Bluetooth
Self balancing
Programmable ( Block Based )
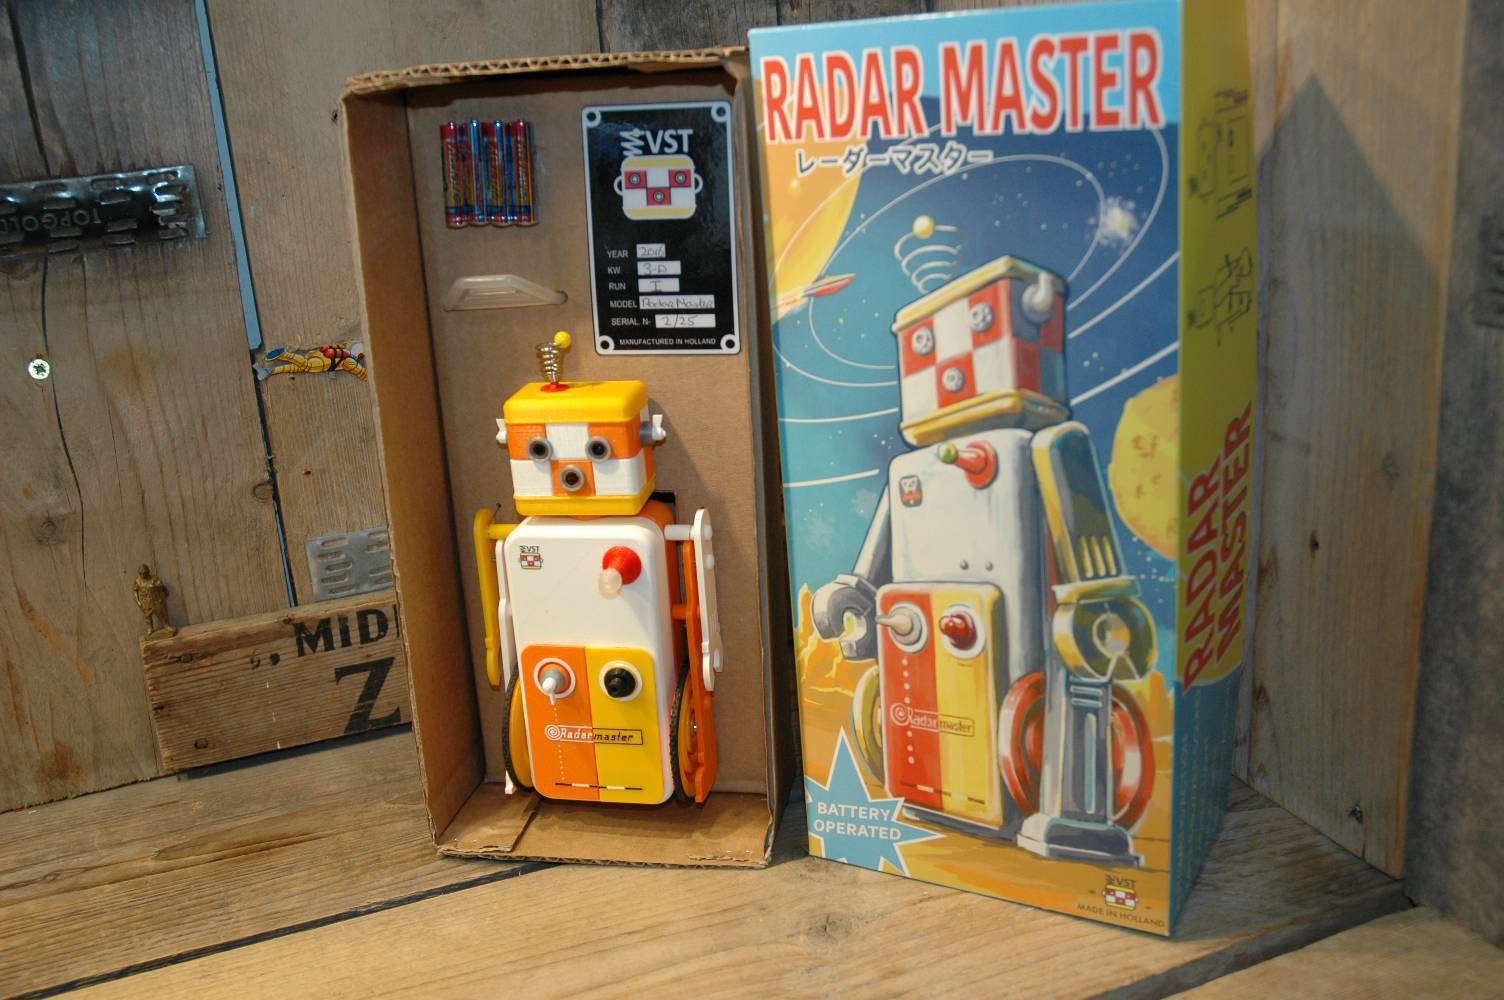
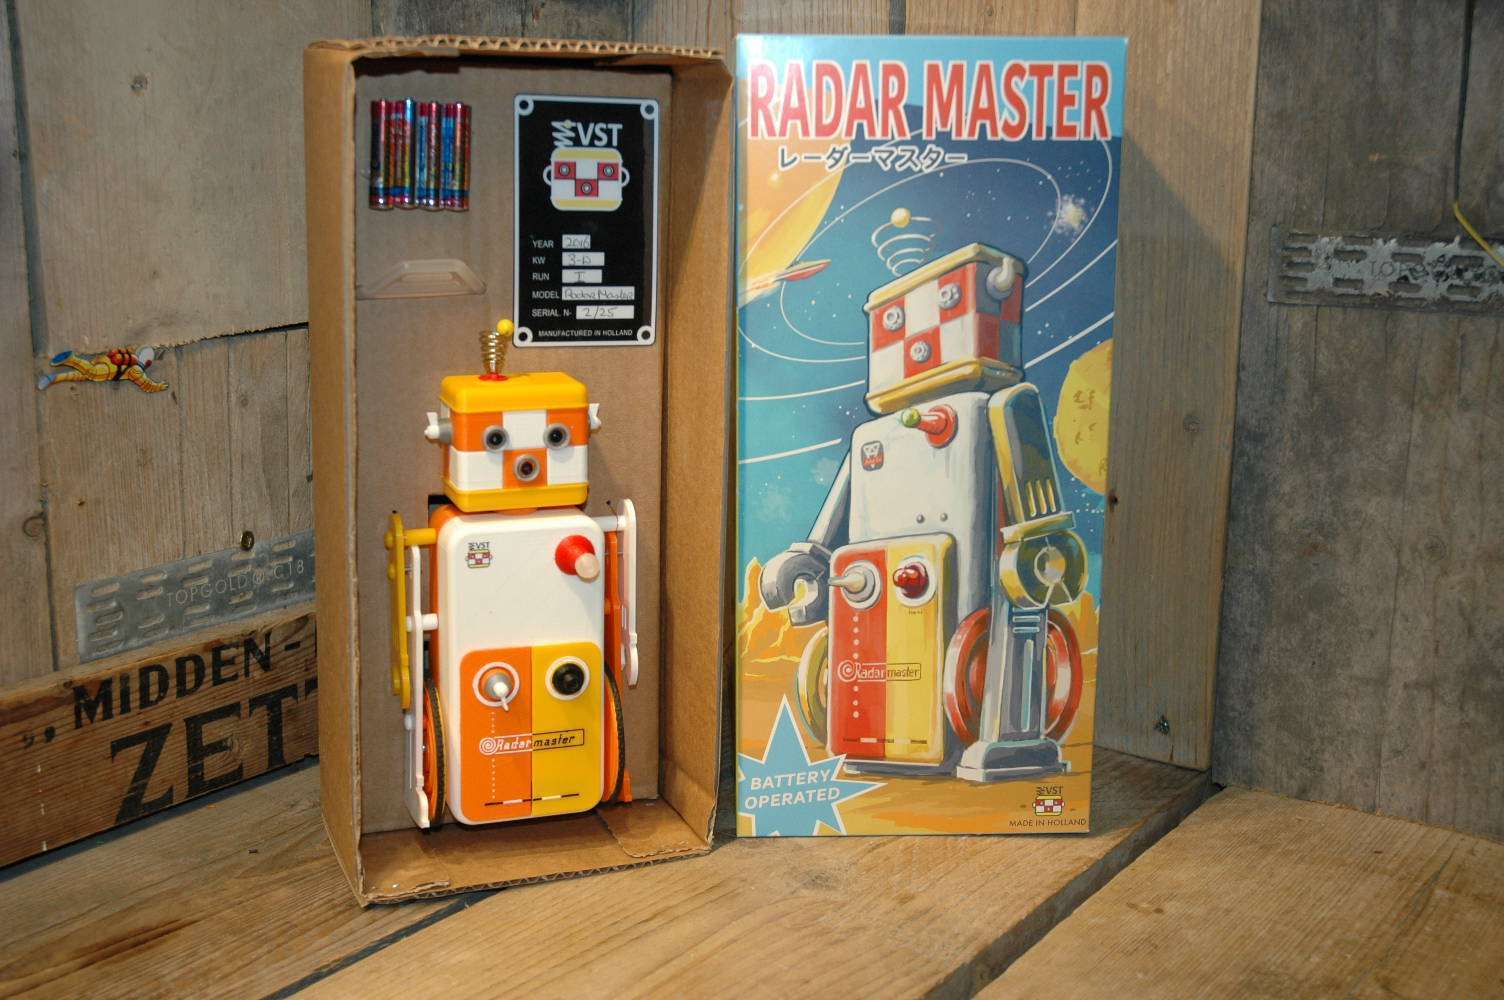
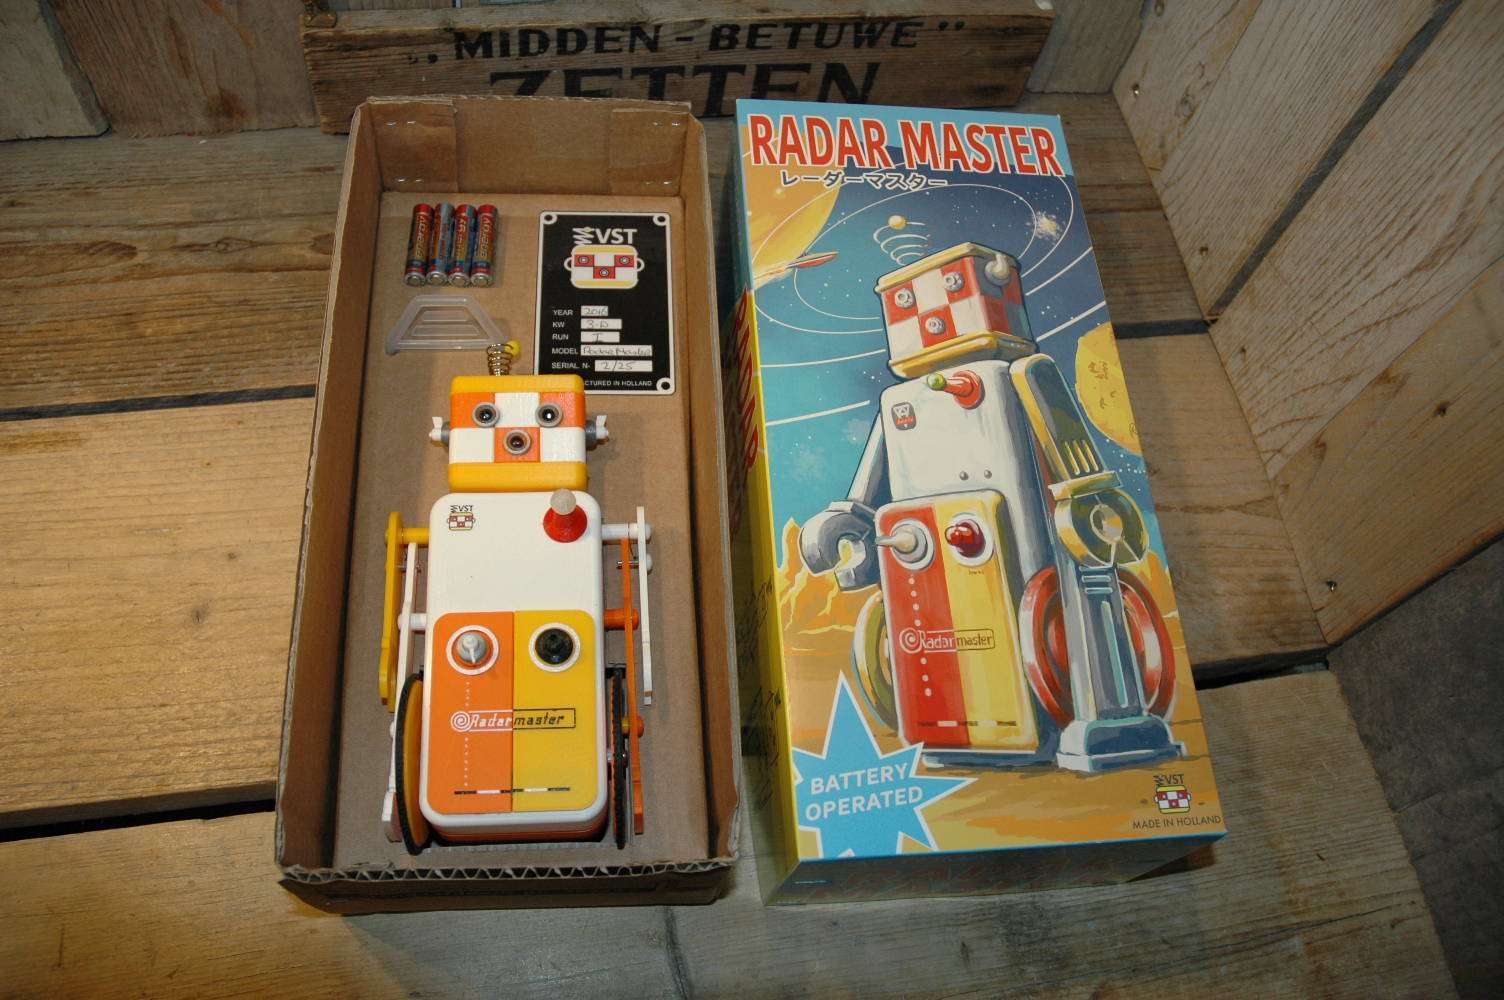
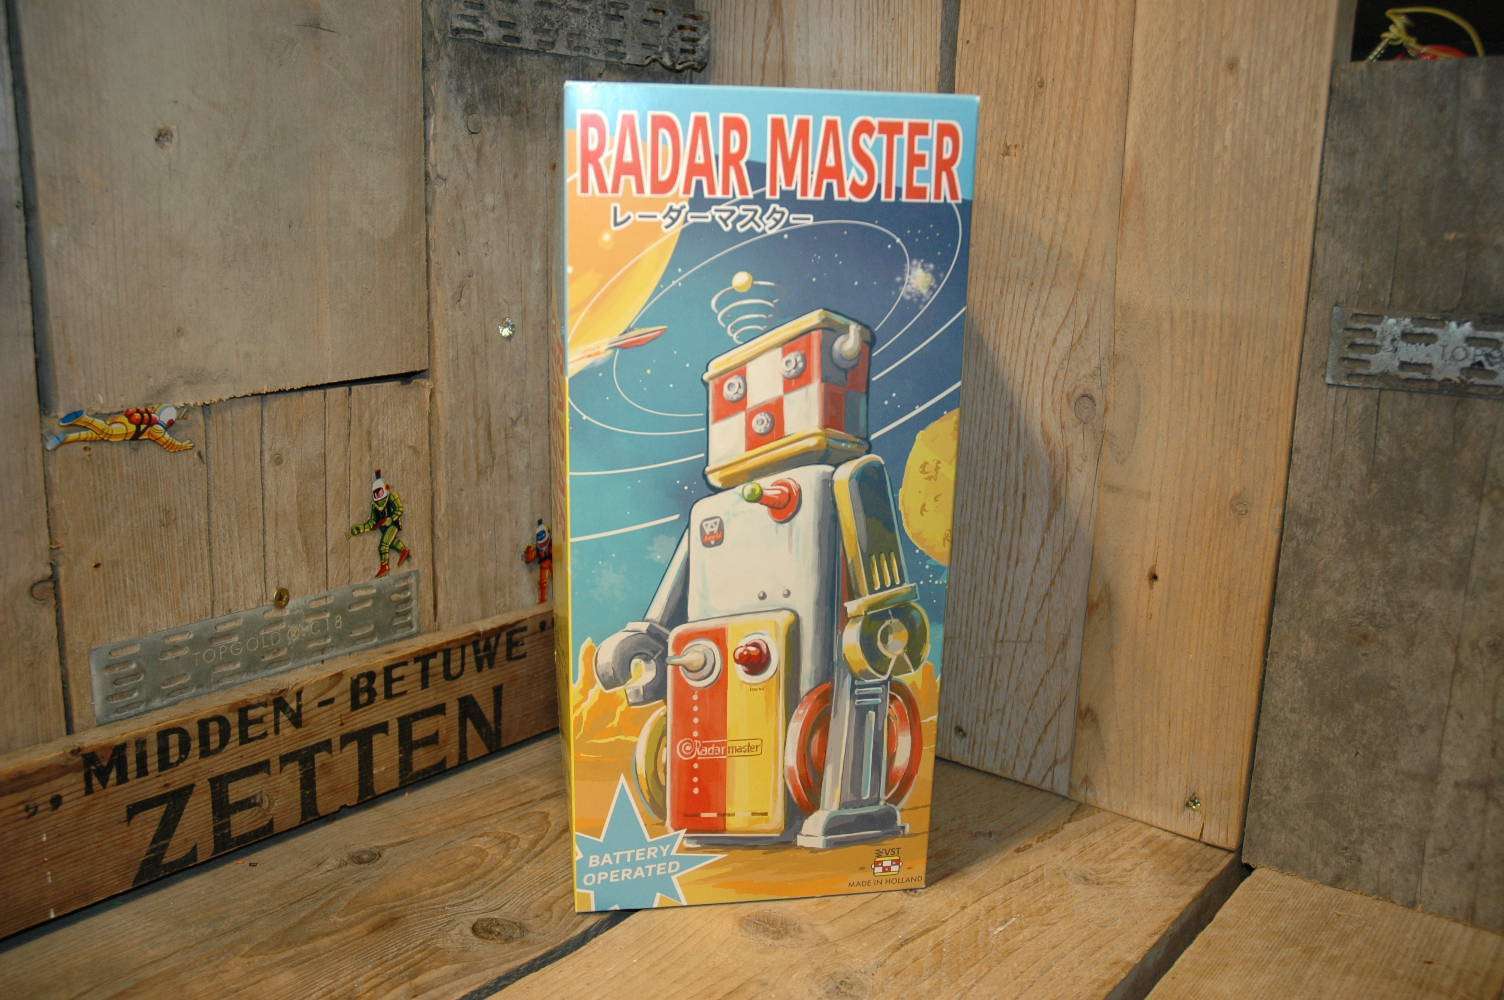
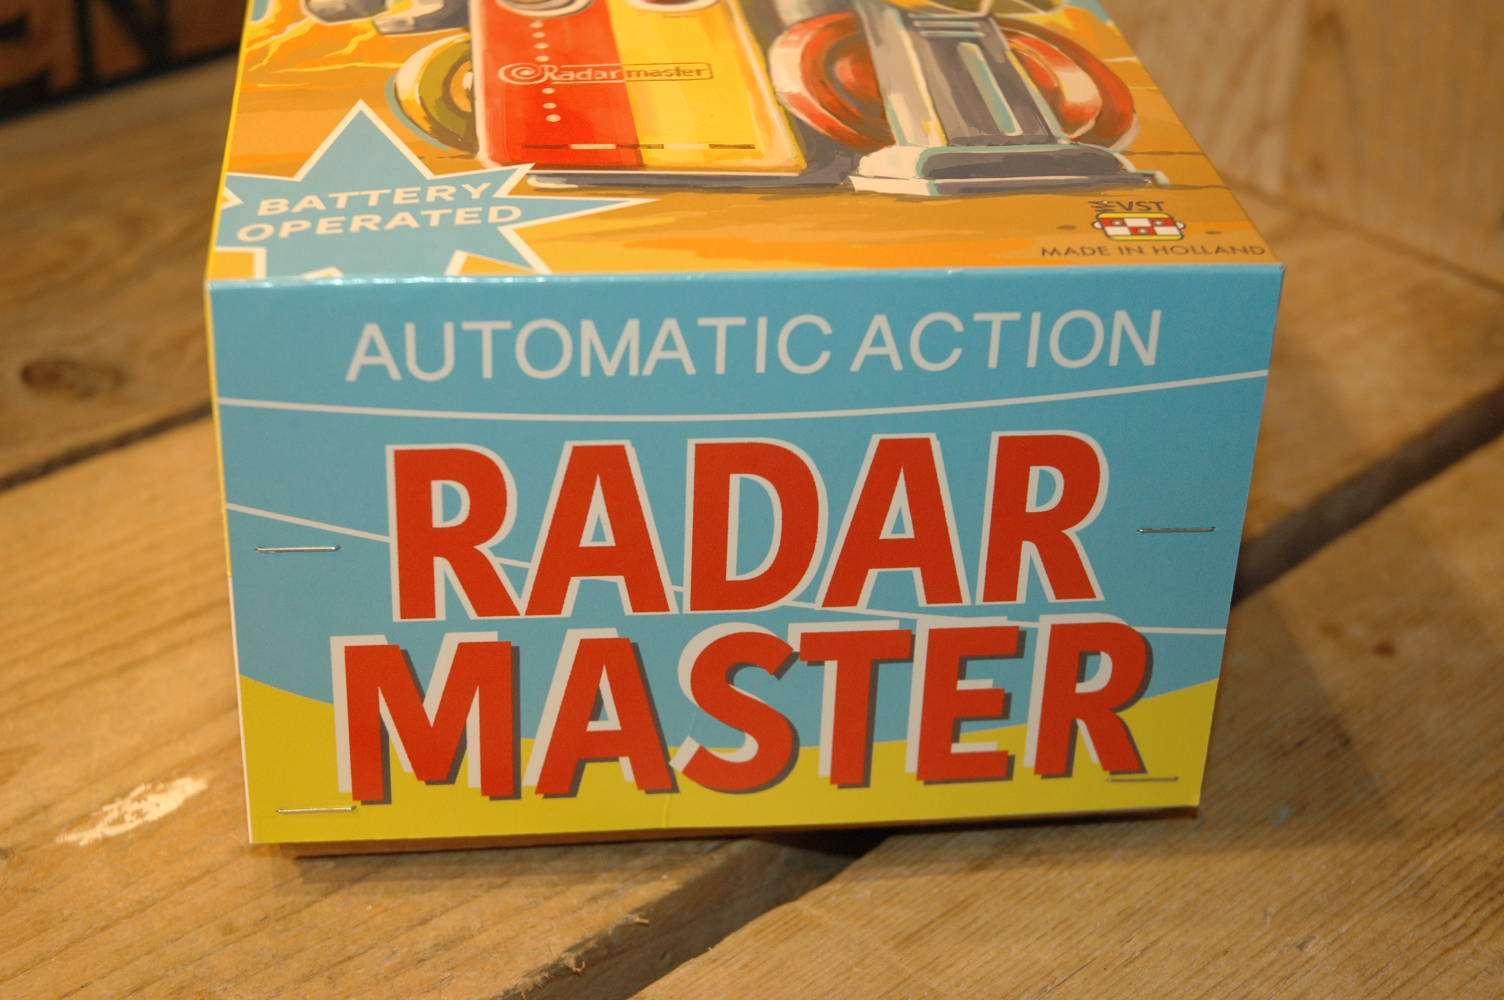
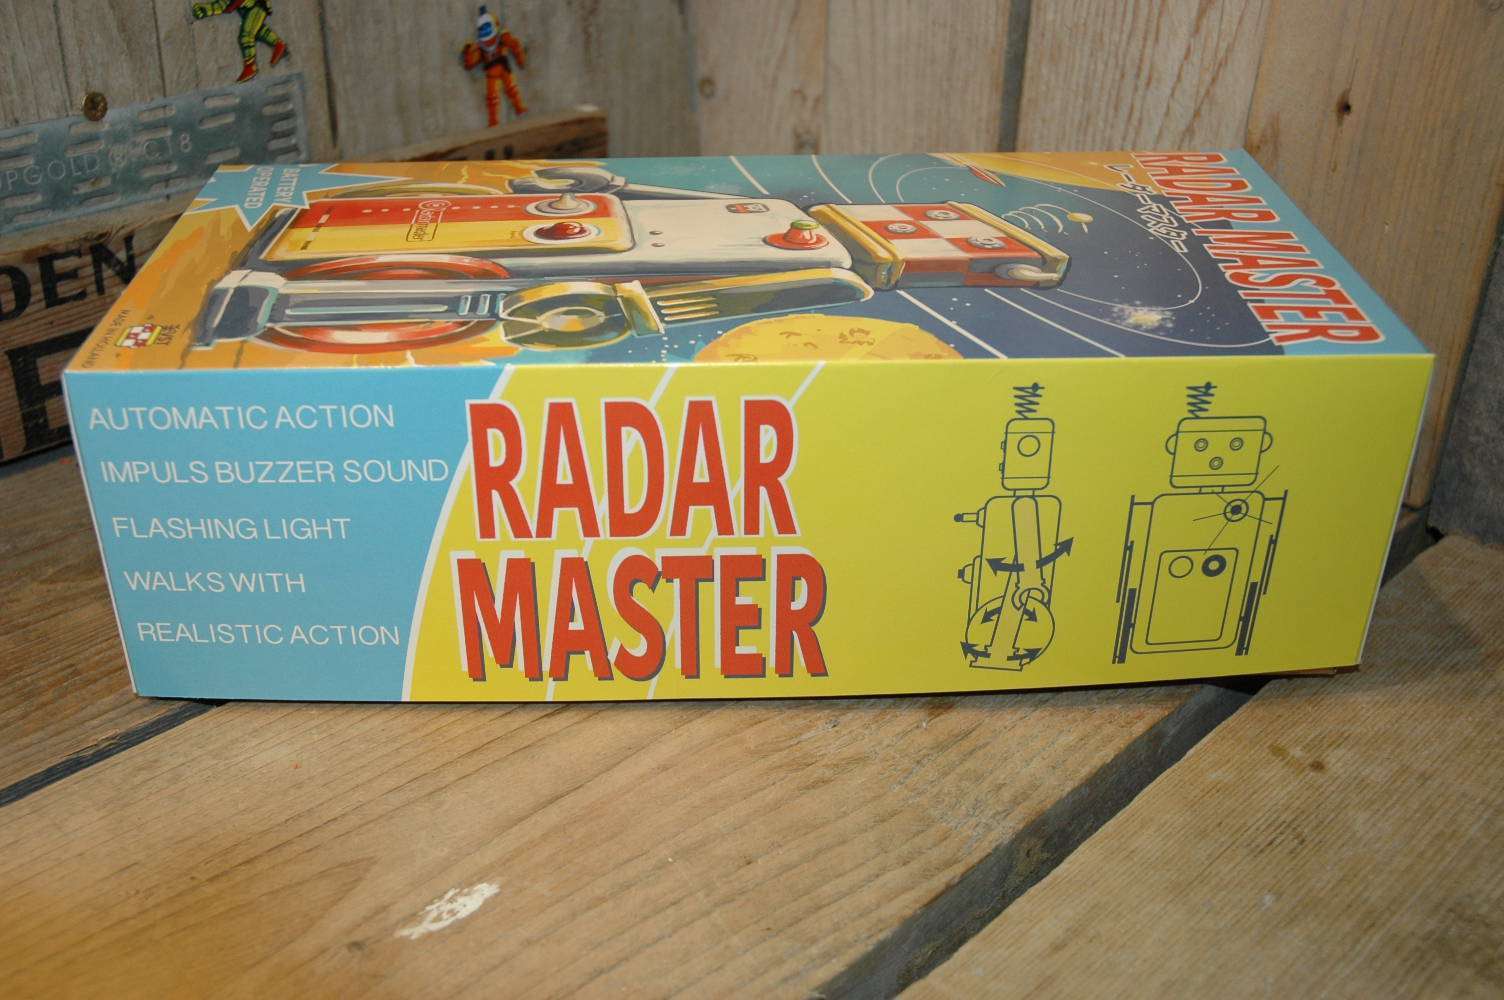
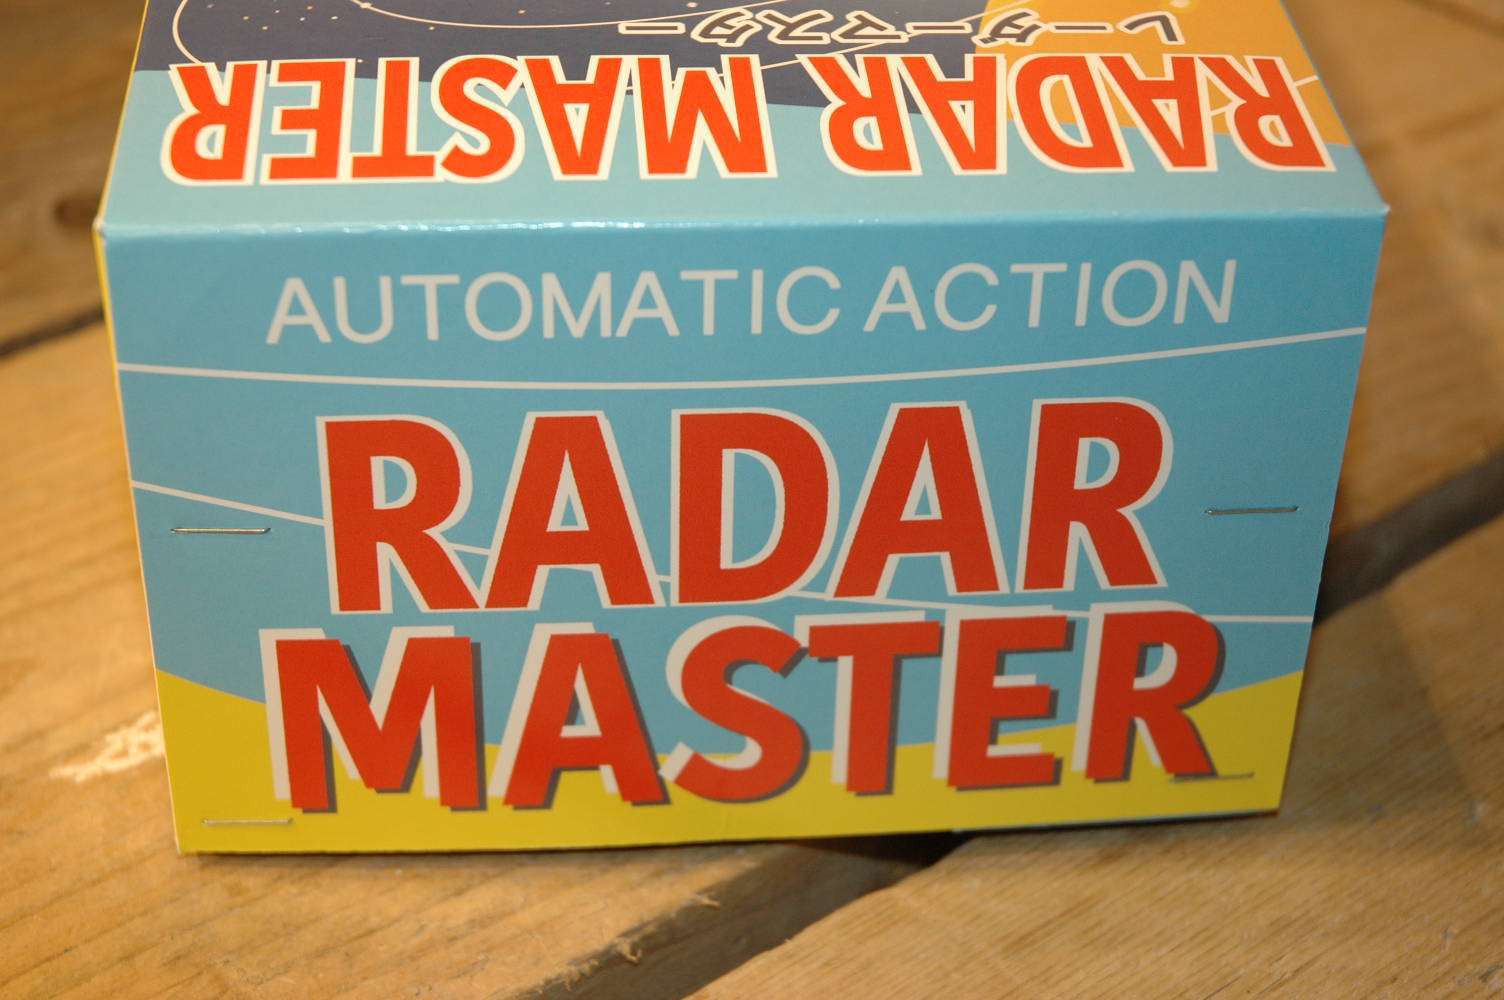
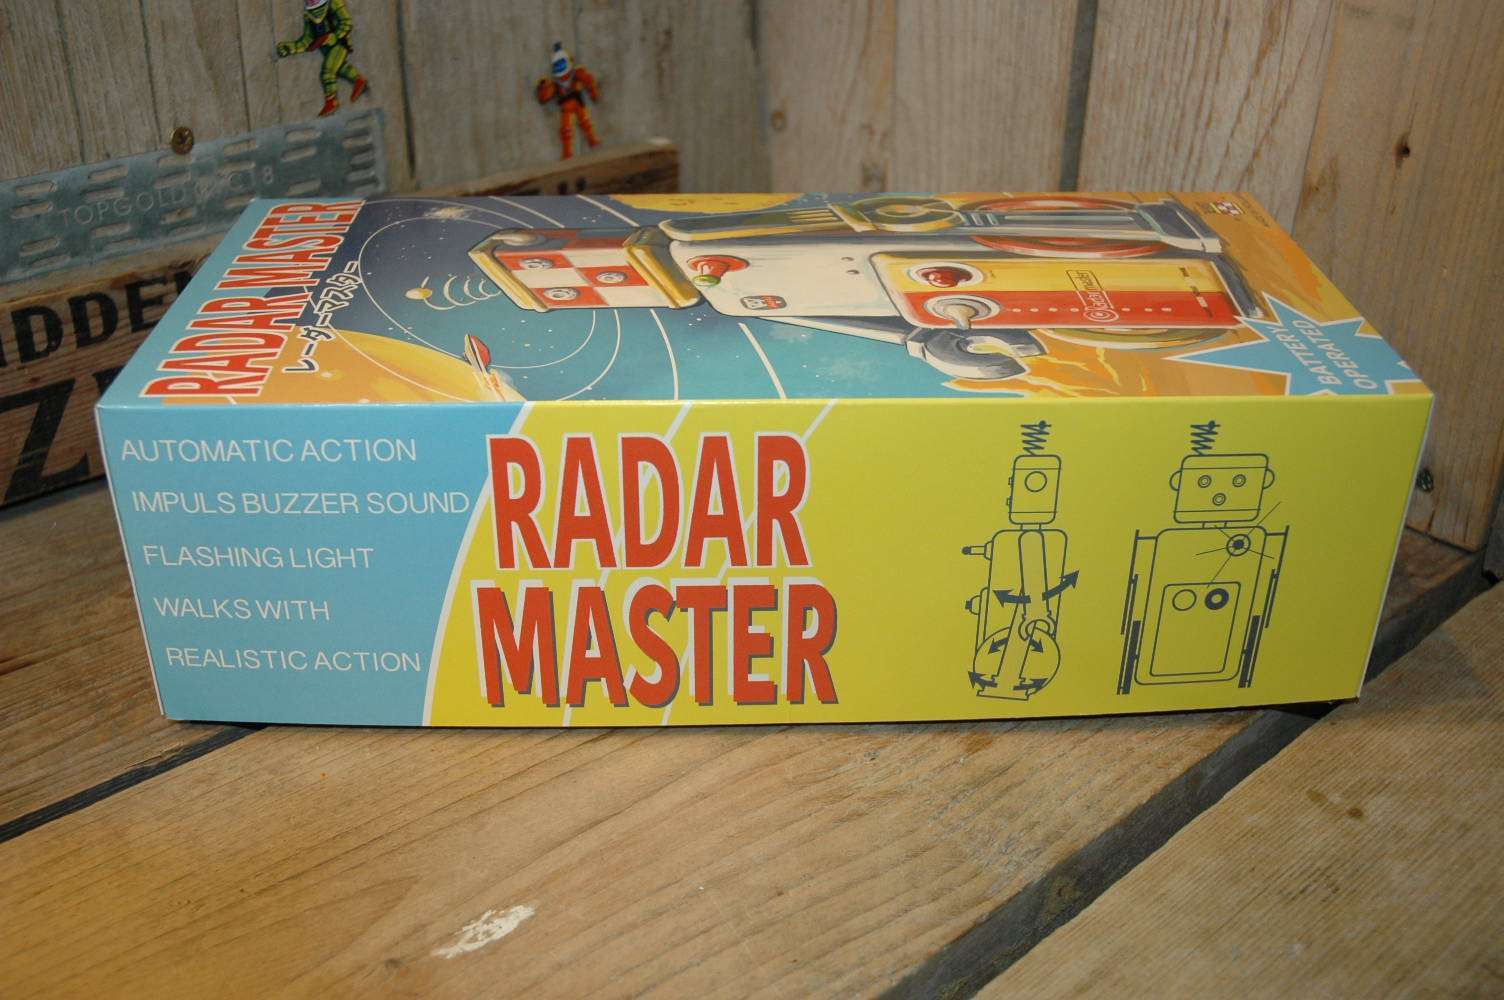
This robot comes with a special designed original box, ID card, inserts, batteries and instruction manual. Every robot is handbuild, tested and handpainted. Limited to 25 pieces. For further questions and information you can always contact me on boogo.nl@gmail.com
Marco